 Skip to content
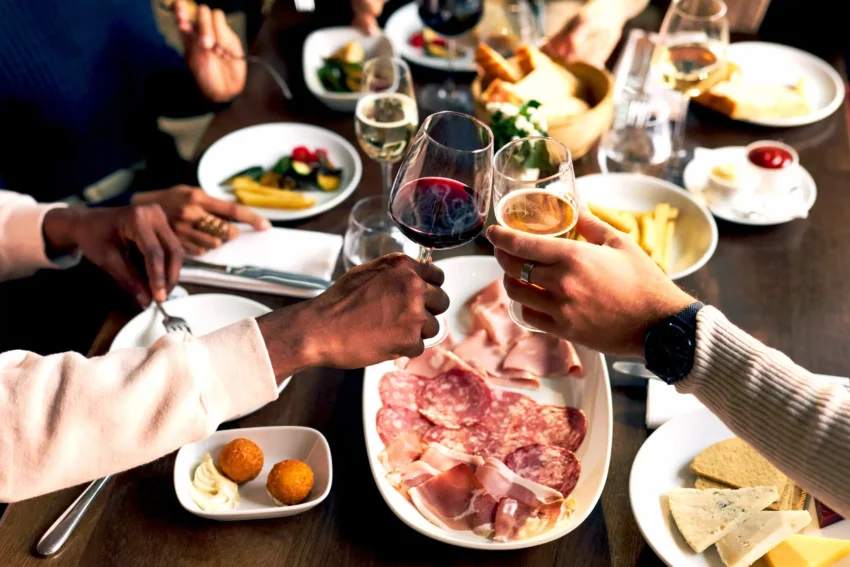
The Ultimate Guide to Dining Out: How to Master Any Restaurant Experience
Dining out is more than just eating; it’s a social ritual, a cultural experience, and a treat. This guide breaks down the process into five key stages, ensuring you’re confident and prepared for any scenario.
Stage 1: The Prelude – Planning & Reservation
A great experience starts before you even leave the house.
1. Choosing the Restaurant:
-
Define Your Vibe: What’s the occasion? A quick bite, a business meeting, a first date, or a celebration? This dictates the atmosphere you need.
-
Do Your Research: Use apps like Google Maps, Yelp, or Resy for reviews and photos. Don’t just look at the star rating; read recent reviews about food quality, service, and noise level.
-
Check the Menu Online: Ensure there are options for everyone in your party, especially if there are dietary restrictions (vegan, gluten-free, allergies). This avoids awkward situations at the table.
2. Making a Reservation:
-
When to Reserve: Always book for popular spots, weekend nights, or large groups. For sought-after restaurants, book weeks or even months in advance.
-
How to Reserve: Use apps like OpenTable or Resy for convenience. For a special request (anniversary, dietary need), call the restaurant directly. A human can note “anniversary” or “nut allergy” in a way an app often can’t.
-
Be Specific: Request a “quiet table,” “booth,” or “outdoor seating” if you have a preference.
-
Confirm: Many restaurants send a confirmation text or email. Reply if prompted! A simple “Y” can save your table.
3. Before You Go:
-
Check the Dress Code: A quick Google search can save you from being turned away at a fancy place. “Business casual” is a safe bet for most upscale restaurants.
-
Arrive On Time: Your table is often held for only 15 minutes past your reservation time. Running late? Call them. It’s a simple courtesy that chefs and servers appreciate.
Stage 2: The Arrival – Seating & First Impressions
1. Checking In:
-
Approach the host stand and state, “Hello, I have a reservation under [Your Name].”
-
If you don’t have a reservation, be polite and ask about the wait time. Never get angry if the answer is long; it’s not the host’s fault.
2. The Seating Dance:
-
You might be offered a table you don’t like (e.g., right by the kitchen door or bathroom). It’s okay to politely ask, “Would it be possible to have a different table? Perhaps something a little quieter?” Be gracious if the answer is no.
3. The First Five Minutes:
-
Your server will likely introduce themselves. Remember their name. It builds rapport.
-
They may outline specials. Listen carefully; these are often the chef’s newest or freshest creations.
Stage 3: The Main Event – Ordering & Etiquette
This is the core of the experience.
1. Navigating the Menu:
-
The Rule of Three: A well-balanced meal often includes an appetizer, a main, and a dessert. You don’t need to order all three, but it’s a good framework.
-
Ask Questions: Don’t be shy! “How is the salmon prepared?” “Is the sauce very spicy?” “Can the pasta be made gluten-free?” Good servers know the menu intimately.
-
Ordering Wine: If you’re unsure, don’t be afraid to ask the server or sommelier for a recommendation based on your meal and price range. It’s their job to help.
2. Dining Etiquette 101:
-
Phone Use: Keep it off the table. Be present with your company.
-
The Universal “I’m Still Eating” Signal: Place your knife and fork in an inverted “V” ( handles at 4 and 8 o’clock) on your plate. The “I’m Finished” signal is knife and fork parallel across the center of the plate.
-
Sending Food Back: If your food is incorrectly cooked (e.g., you asked for medium and got well-done), you should politely send it back. Do not do this if you simply don’t like the dish.
-
Allergies: Mention life-threatening allergies when you order, not after the food arrives. Say, “I have a severe peanut allergy. Can you ensure my dish is prepared safely?”
Stage 4: The Finale – Wrapping Up & Payment
1. The Check:
-
In the U.S., the check typically won’t be brought until you ask for it, as it’s considered rude to rush guests.
-
To signal for the check, you can make eye contact with your server and make a subtle writing gesture in the air or simply say, “We’re ready for the check, please,” when they check on you.
2. Tipping:
-
United States: 15% is the baseline for standard service. 20% is standard for good service. 25%+ is for exceptional service. Always tip on the pre-tax amount.
-
Elsewhere: In many European and Asian countries, a service charge is often included. Always check the bill. It’s still customary to leave a few extra euros or round up for great service.
3. Payment:
-
To pay together, say, “We’ll have one check, please.”
-
To pay separately, say, “We’ll need separate checks, please.” It’s best to mention this at the beginning of the meal to make it easier for the server.
Stage 5: The Post-Game – Follow-Up & Feedback
1. Feedback:
-
If you had a major issue, it’s often best to ask to speak with a manager during your meal so they can fix it for you in real-time.
-
Afterward, if you loved the experience, leave a positive review online or call to compliment a specific server. This means a lot to the staff.
2. Loyalty:
-
Found a place you love? Become a regular. Return, get to know the staff, and you’ll often receive even better service and occasional perks.
Pro-Tips for Specific Situations
-
Large Groups: Always call ahead. Be understanding if the restaurant requires a pre-fixe menu or auto-gratuity.
-
Dietary Restrictions: Call ahead for severe restrictions. Chefs appreciate the chance to prepare something amazing for you rather than being put on the spot.
-
A Bad Experience: Address it calmly with a manager in the moment. If you must complain online, be specific and factual, not just angry. It’s more likely to be addressed.
The Golden Rule of Dining Out: Remember that you are a guest in someone’s workplace. Treat the staff with the same respect you expect from them. A little kindness and patience go an incredibly long way in ensuring a fantastic experience for everyone. Enjoy your meal
